Capabilities
| Resource | Sync | Provision |
|---|---|---|
| Accounts | ||
| Teams |
Gather Buildkite credentials
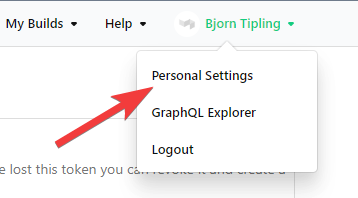
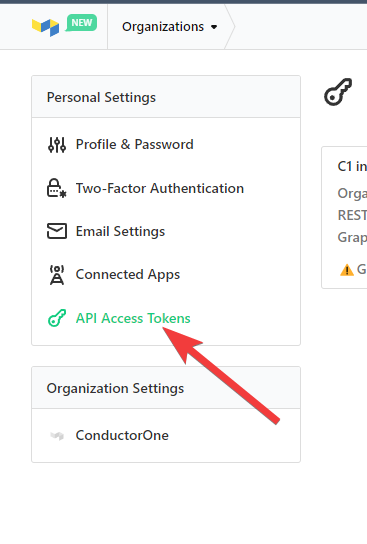
Configuring the connector requires you to pass in credentials generated in Buildkite. Gather these credentials before you move on.Step 1: Create a new API access token

Name your token ConductorOne Integration and select the following permissions:
- Organization Access: your org name
- Read Teams
- Read Organizations
- Read User
- GraphQL API: Enable GraphQL API Access
Configure the Buildkite connector
- Cloud-hosted
- Self-hosted
Follow these instructions to use a built-in, no-code connector hosted by ConductorOne.That’s it! Your Buildkite connector is now pulling access data into ConductorOne.
Choose how to set up the new Buildkite connector:
- Add the connector to a currently unmanaged app (select from the list of apps that were discovered in your identity, SSO, or federation provider that aren’t yet managed with ConductorOne)
- Add the connector to a managed app (select from the list of existing managed apps)
- Create a new managed app
Set the owner for this connector. You can manage the connector yourself, or choose someone else from the list of ConductorOne users. Setting multiple owners is allowed.
If you choose someone else, ConductorOne will notify the new connector owner by email that their help is needed to complete the setup process.
The connector’s label changes to Syncing, followed by Connected. You can view the logs to ensure that information is syncing.
To finish the configuration, select an organization. On the Buildkite integration page, click Edit in the Organization section.
Wait for the UI to populate a list of organizations your API access token has access to, then select the appropriate organization.